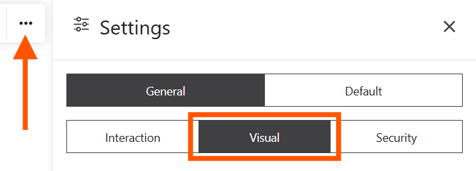
How to open the Visual settings
- Click the three dots menu in the top right corner
- Select Settings
- Open the General tab
- Select Visual
Appearance
These settings define the overall look of the interface and objects.
- Appearance
Choose between Light, Dark, or System.
The System option automatically matches your device settings. - Object gradients
Adds a gradient effect to sticky notes. This creates a subtle 3D look and can improve visual distinction between elements. - Embed transparency
Controls how embedded content is displayed. Depending on your use case, you can enable or disable transparency for better readability. When activated embedded content will be semi-transparent, when not selected.

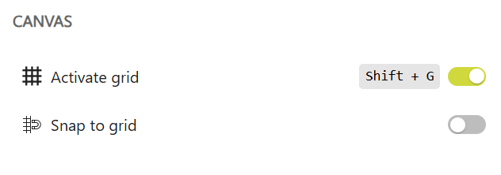
Canvas
These settings help you structure and align content on the board.
- Activate grid
Displays a grid on the board. This helps you organize content and keep layouts consistent. - Snap to grid
Automatically aligns objects to the grid when moving them. This ensures clean and structured positioning.
Project settings
These settings affect the visual setup of the board itself.
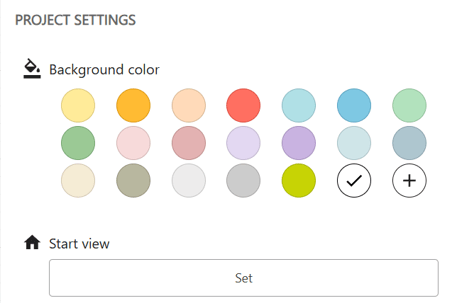
- Background color
Change the background color of your board. This can help highlight content or match your workshop style. - Start view
Define the default view for users when they open the board. This is useful to guide participants to a specific area, for example an agenda or introduction section. To set the start view you need to create a Quick Link first.